Lincoln Navigator: Body Closures / Hood Alignment. General Procedures
Inspection
-
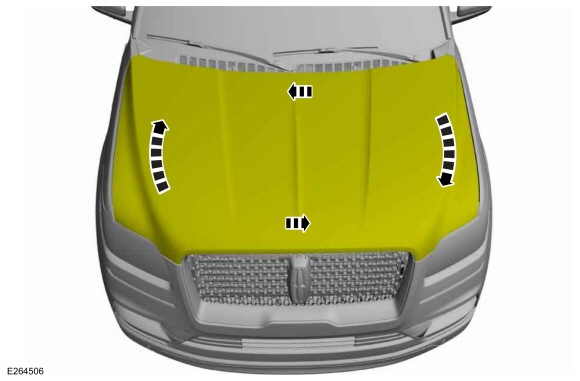
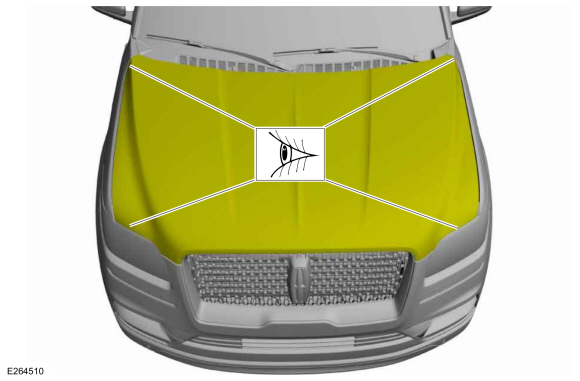
Inspect the hood-to-body dimensions.
Refer to: Body and Frame (501-26 Body Repairs - Vehicle Specific Information and Tolerance Checks, Description and Operation).
All alignments
-
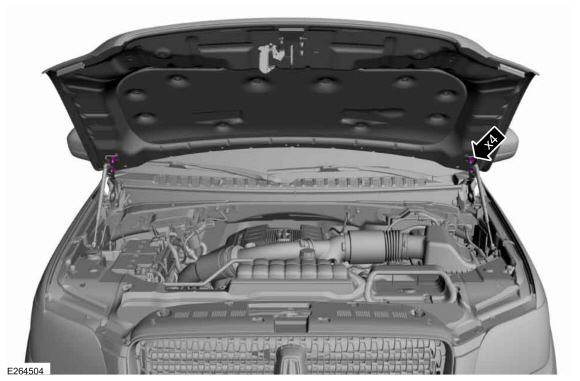
Remove the hood latch.
Refer to: Hood Latch (501-14 Handles, Locks, Latches and Entry Systems, Removal and Installation).
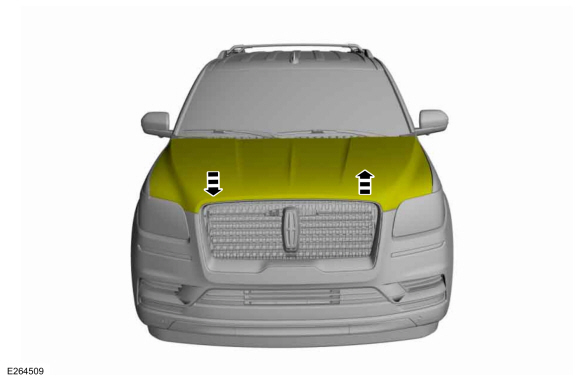
Hood fore and aft, left and right alignments
-
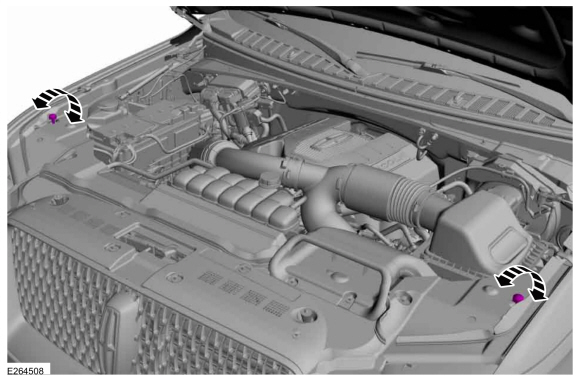
Loosen the nuts to permit movement of the hood.
 |
-
Carefully close the hood.
 |
-
Adjust the hood to specification.
Refer to: Body and Frame (501-26 Body Repairs - Vehicle Specific Information and Tolerance Checks, Description and Operation).
 |
-
Carefully open the hood.
 |
-
Tighten the nuts.
Torque: 17 lb.ft (23 Nm)
|
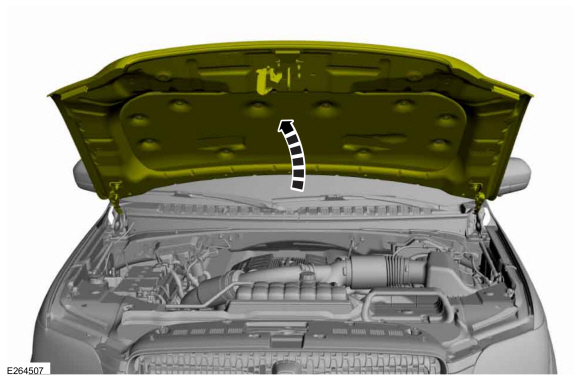
Hood front up and down alignments
-
Adjust the bump stop rubbers.
 |
-
Carefully close the hood.
|
-
Adjust the hood to specification.
Refer to: Body and Frame (501-26 Body Repairs - Vehicle Specific Information and Tolerance Checks, Description and Operation).
 |
All alignments
-
Install the hood latch.
Refer to: Hood Latch (501-14 Handles, Locks, Latches and Entry Systems, Removal and Installation).
-
Inspect the body-to-hood dimensions.
Refer to: Body and Frame (501-26 Body Repairs - Vehicle Specific Information and Tolerance Checks, Description and Operation).
 |
 Front Door Alignment. General Procedures
Inspection
NOTE:
LH side shown, RH side similar.
Check the body-to-front door dimensions.
Refer to: Body and Frame (501-26 Body Repairs - Vehicle Specific Information and Tolerance Checks, Description and Operation)...
 Liftgate Alignment. General Procedures
Inspection
Check liftgate-to-body dimensions.
Refer to: Body and Frame (501-26 Body Repairs - Vehicle Specific Information and Tolerance Checks, Description and Operation)...
Other information:
Lincoln Navigator 2018-2026 Workshop Manual: C Clutch. Diagnosis and Testing
Symptom Chart C Clutch For C clutch operation, REFER to: C Clutch (307-01 Automatic Transmission - 10-Speed Automatic Transmission – 10R80, Description and Operation). C Clutch Condition Possible Sources Action C clutch does not apply SSC mechanically stuck OFF INSTALL a new sole..
Lincoln Navigator 2018-2026 Workshop Manual: Body System. Diagnosis and Testing
Symptom Chart(s) Diagnostics in this manual assume a certain skill level and knowledge of Ford-specific diagnostic practices. REFER to: Diagnostic Trouble Code Charts (100-00) . Dust and Water Leaks Most dust and water leaks occur due to missing or incorrectly installed body sealer or components. The source of the leak is detected by: pressurizing the vehicle and t..
Categories
- Manuals Home
- 4th Gen Lincoln Navigator Service Manual (2018 - 2026)
- Liftgate Trim Panel. Removal and Installation
- Transmission Fluid Level Check. General Procedures
- Front Bumper Cover. Removal and Installation
- Power Running Board (PRB). Diagnosis and Testing
- Identification Codes. Description and Operation
Differential Case Runout Check. General Procedures
Special Tool(s) / General Equipment
 205-1016
Installer, Differential Bearing
TKIT-2014D-ROW2
TKIT-2014D-FL_ROW
 205-153
(T80T-4000-W)
205-153
(T80T-4000-W)
Handle
 205-D061
(D83T-4205-C2)
205-D061
(D83T-4205-C2)
Step Plate Dial Indicator Three Leg Puller Punch