Lincoln Navigator: Body Closures / Front Door. Removal and Installation
Special Tool(s) / General Equipment
| Door Lift |
Removal
NOTE: Removal steps in this procedure may contain installation details.
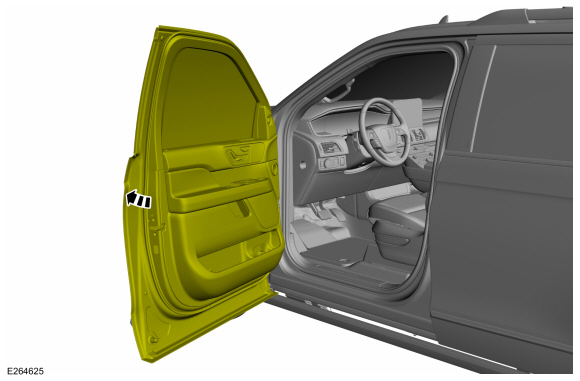
NOTE: LH side shown, RH side similar.
-
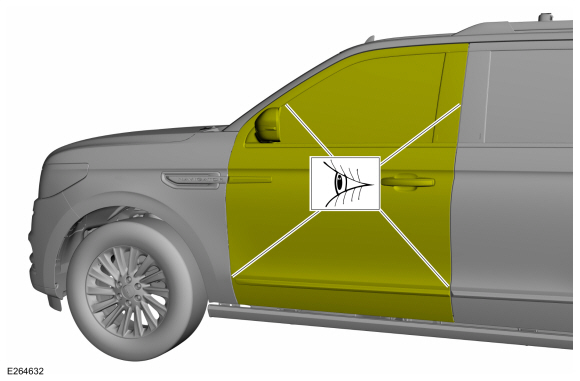
Open the door.
 |
-
Remove the check arm bolt.
Torque: 17 lb.ft (23 Nm)
 |
-
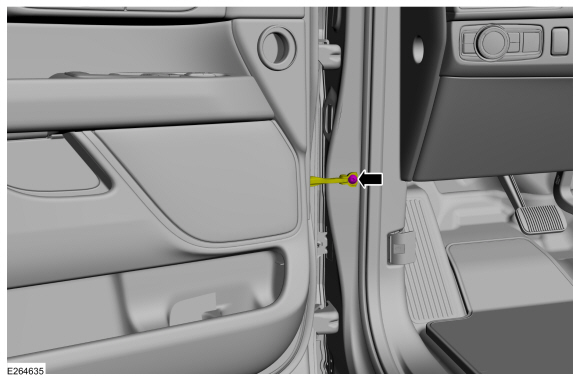
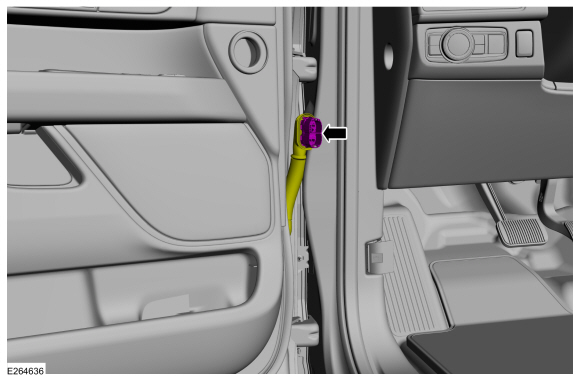
Disconnect the front door electrical connector.
 |
-
Remove the door hinge pivot bolts.
Use the General Equipment: Door Lift
Torque: 22 lb.ft (30 Nm)
 |
-
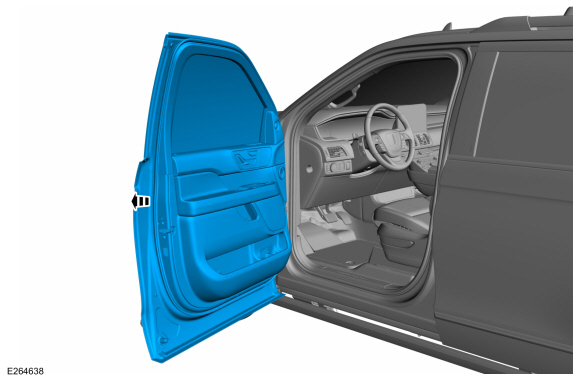
Remove the front door.
Use the General Equipment: Door Lift
 |
Installation
-
To install, reverse the removal procedure.
-
NOTE: This step is only necessary when installing a new component.
Check the body-to-front door dimensions. Align the door as necessary.
Refer to: Front Door Alignment (501-03 Body Closures, General Procedures).
 |
 Rear Door Alignment. General Procedures
Inspection
NOTE:
LH side shown, RH side similar.
NOTE:
Short wheelbase shown, long wheelbase similar.
Inspect the rear door-to-body dimensions...
 Front Door Check Arm. Removal and Installation
Removal
NOTE:
Removal steps in this procedure may contain installation details.
NOTE:
LH side shown, RH side similar.
Open the door...
Other information:
Lincoln Navigator 2018-2026 Workshop Manual: Engine. Assembly
Special Tool(s) / General Equipment 100-002 (TOOL-4201-C) Holding Fixture with Dial Indicator Gauge 205-142 (T80T-4000-J) Installer, Differential Bearing Cone 205-149 (T80T-4000-R) Installer, Spindle Bearing 205-153 (T80T-4000-W) Handle 303-102Installer, Crankshaft Pulley 303-1246Engine Spreader BarTKIT-2006UF-FLMTK..
Lincoln Navigator 2018-2026 Workshop Manual: Cooling Fan Control. Diagnosis and Testing
Diagnostic Trouble Code (DTC) Chart Diagnostics in this manual assume a certain skill level and knowledge of Ford-specific diagnostic practices. REFER to: Diagnostic Methods (100-00 General Information, Description and Operation). Module DTC Description Action PCM P028D:00 Charge Air Cooler Cooling Fan Control Circuit Low: No Sub Type Information GO to Pinpoint Tes..
Categories
- Manuals Home
- 4th Gen Lincoln Navigator Service Manual (2018 - 2026)
- Transmission Fluid Drain and Refill. General Procedures
- All Terrain Control Module (ATCM). Removal and Installation
- Front Bumper Cover. Removal and Installation
- Liftgate Trim Panel. Removal and Installation
- Neutral Flat Tow Activation and Deactivation. General Procedures
Diagnostic Methods. Description and Operation
This document provides critical diagnostic knowledge required for successful repair outcomes. It identifies technical competencies expected by users of this manual.
Ford Diagnostic Assumptions
Ford diagnostics assume the vehicle concern described by the test title is currently present. Exceptions to this rule are noted in each test. Do not replace modules or other components as directed by a diagnostic if the concern is not present at the time of testing.