Lincoln Navigator: Third Row Seats / Third Row Seat. Removal and Installation
Removal
 WARNING:
The following procedure describes critical repair steps
required for correct seat component installation. Follow all notes and
steps carefully. Do not place any objects between the seat components
and the body of the vehicle, nor any objects within a joint internal to
the seat structure. Failure to follow step instructions may result in
incorrect operation of the seat components and increases the risk of
serious personal injury.
WARNING:
The following procedure describes critical repair steps
required for correct seat component installation. Follow all notes and
steps carefully. Do not place any objects between the seat components
and the body of the vehicle, nor any objects within a joint internal to
the seat structure. Failure to follow step instructions may result in
incorrect operation of the seat components and increases the risk of
serious personal injury.
NOTE:
Removal steps in this procedure may contain installation details.
NOTE:
Short wheel base shown, long wheel base similar.
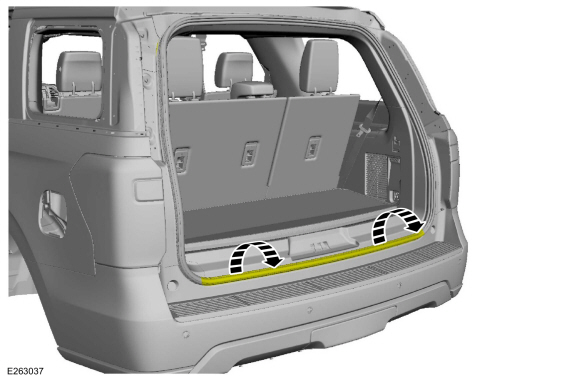
-
Position the liftgate opening weatherstrip aside.
-
Release the clips and the liftgate scuff plate trim panel.
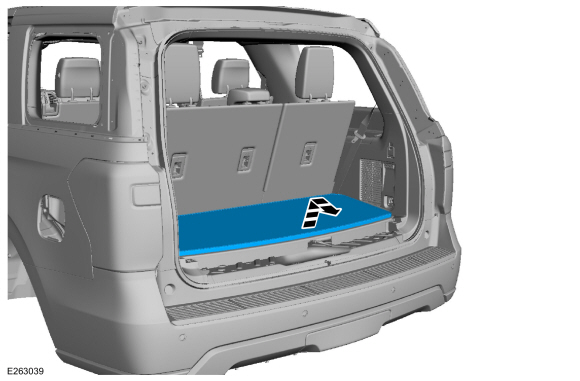
-
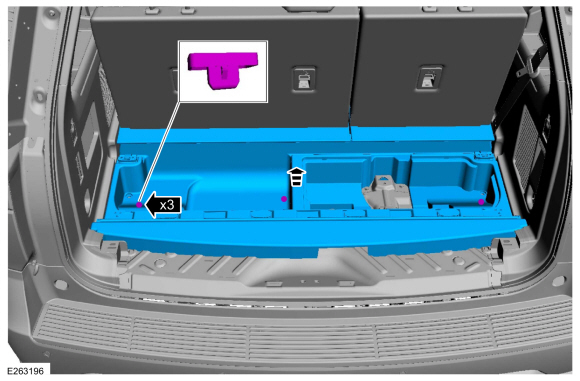
Remove the load floor cover.
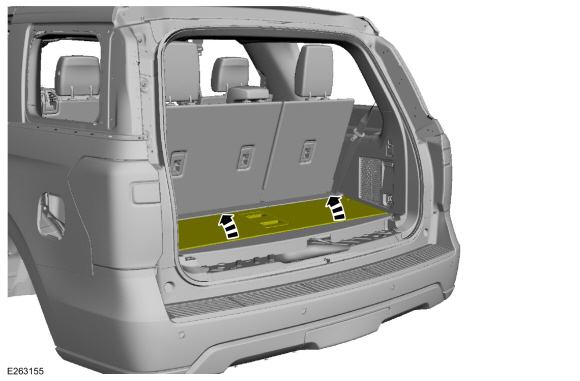
-
Position the load floor storage compartment cover up.
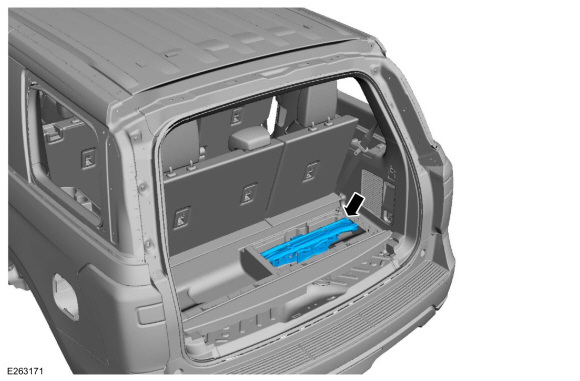
-
Remove the vehicle jack assembly.
-
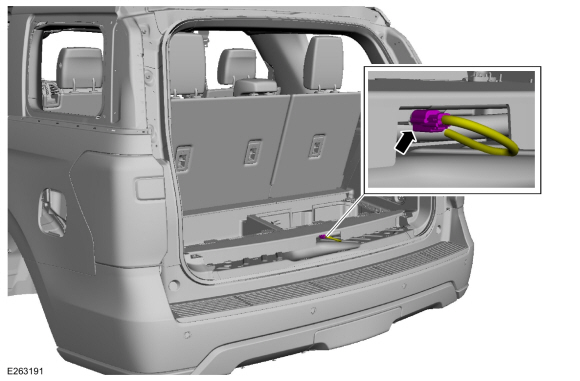
Disconnect the keyless entry rear antenna electrical connector.
-
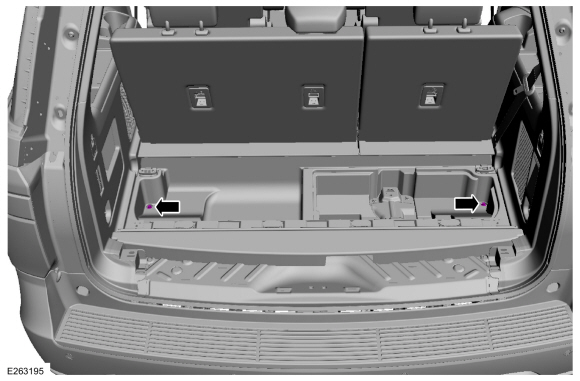
Remove the load floor storage compartment bolts.
-
Release the clips and remove the load floor storage compartment.
-
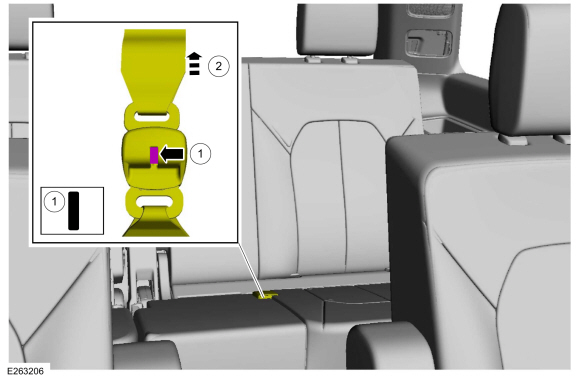
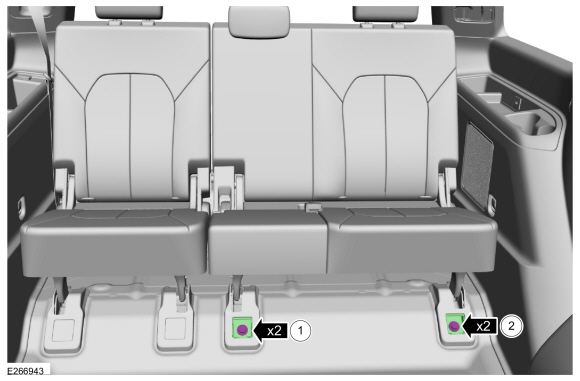
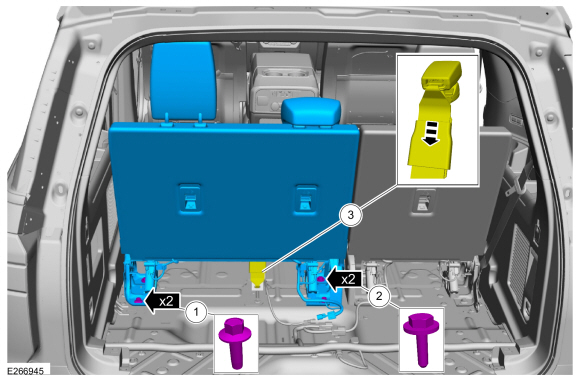
Disconnect the third row center seatbelt from the third row center seatbelt retractor mini-buckle.
-
Press the release button.
-
Release the third row center seatbelt.
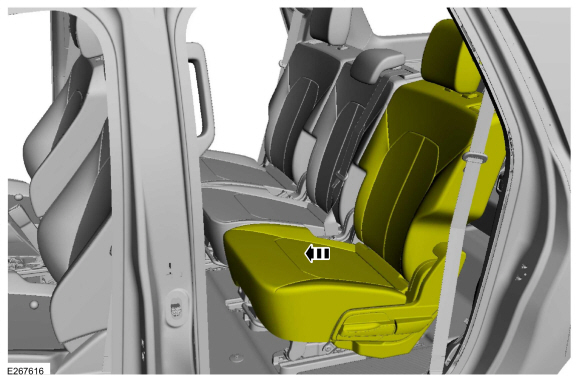
Third row double seat
-
Position the second row seat to the furthest forward position.
-
Remove the third row double seat front bolts.
-
Remove the bolt covers.
-
Remove the bolts.
Torque:
35 lb.ft (47 Nm)
-
-
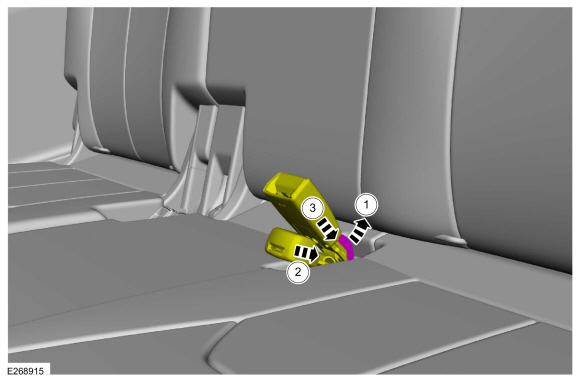
Pull up the elastic strap.
-
Feed the third row center seatbelt retractor mini-buckle into the seat cushion pocket.
-
Feed the third row double seat outer seatbelt buckle into the seat cushion pocket.
-
-
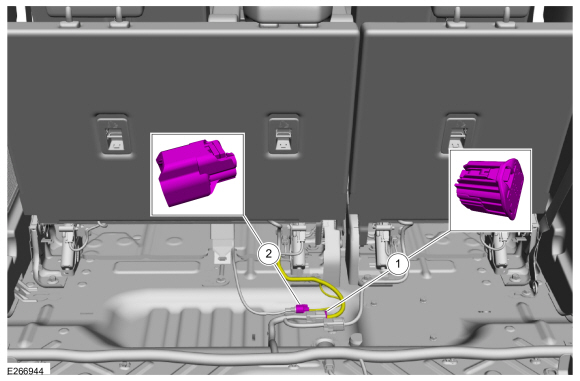
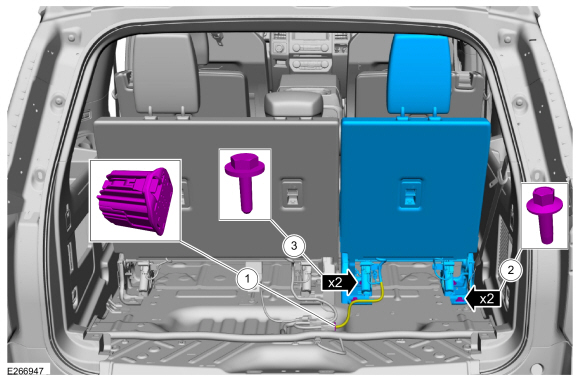
Disconnect the third row double seat electrical connector.
-
If equipped.
Disconnect the third row double seat outer seatbelt buckle electrical connector.
-
Remove the third row double seat.
-
Remove the bolts.
Torque:
52 lb.ft (70 Nm)
-
Remove the bolts.
Torque:
35 lb.ft (47 Nm)
-
Pull the third row double seat outer seatbelt buckle through the seat cushion.
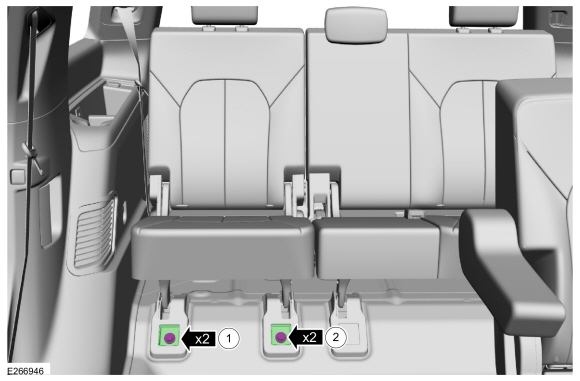
Third row single seat
-
Position the second row seat to the furthest forward position.
-
Remove the third row single seat front bolts.
-
Remove the bolt covers.
-
Remove the bolts.
Torque:
35 lb.ft (47 Nm)
-
Remove the third row single seat.
-
Disconnect the electrical connector.
-
Remove the bolts.
Torque:
52 lb.ft (70 Nm)
-
Remove the bolts.
Torque:
35 lb.ft (47 Nm)
Installation
-
To install, reverse the removal procedure.
-
Using a diagnostic scan tool, select SCMJ to carry out the relearn procedure.
Removal
WARNING:
The following procedure describes critical repair steps
required for correct seat component installation. Follow all notes and
steps carefully...
Special Tool(s) /
General Equipment
Interior Trim Remover
Removal
NOTE:
LH shown, RH similar.
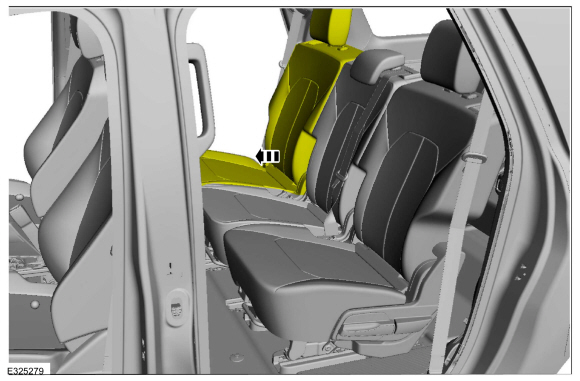
Release the tab and position the third row seat control switch and bezel away from the loadspace trim panel...
Other information:
Transmission Assembly
Item
Part Number
Description
1
79027902
Torque converter
2
W714629W714629
Transmission fluid pan stud bolts (6 required)
3
W500215W500215
Transmission fluid pan bolts (12 required)
4
7A1947A194
Transmission fluid pan
5
7A1917A191
Transmission fluid pan gasket
..
Special Tool(s) /
General Equipment
303-1633Remover, Roller Rocker FollowerTKIT-2014D-ROW3TKIT-2014D-FL_ROW
303-1633-01Remover, Roller Rocker Follower
Removal
NOTE:
This procedure should be used when removing and replacing
the clipped roller finger follower or hydraulic lash adjuster and the
camshafts are not removed.
LH side rocker arm
..

 Third Row Double Seat Frame. Removal and Installation
 Third Row Seat Control Switch. Removal and Installation